Channels
Every device must be assigned to a channel to receive live updates. Channels let you distribute different versions of your app to different groups of users, so you can test new features with a small group before rolling them out to everyone. If you don't need to assign specific channels per device, you can set a default channel that is used automatically when no specific channel is assigned.
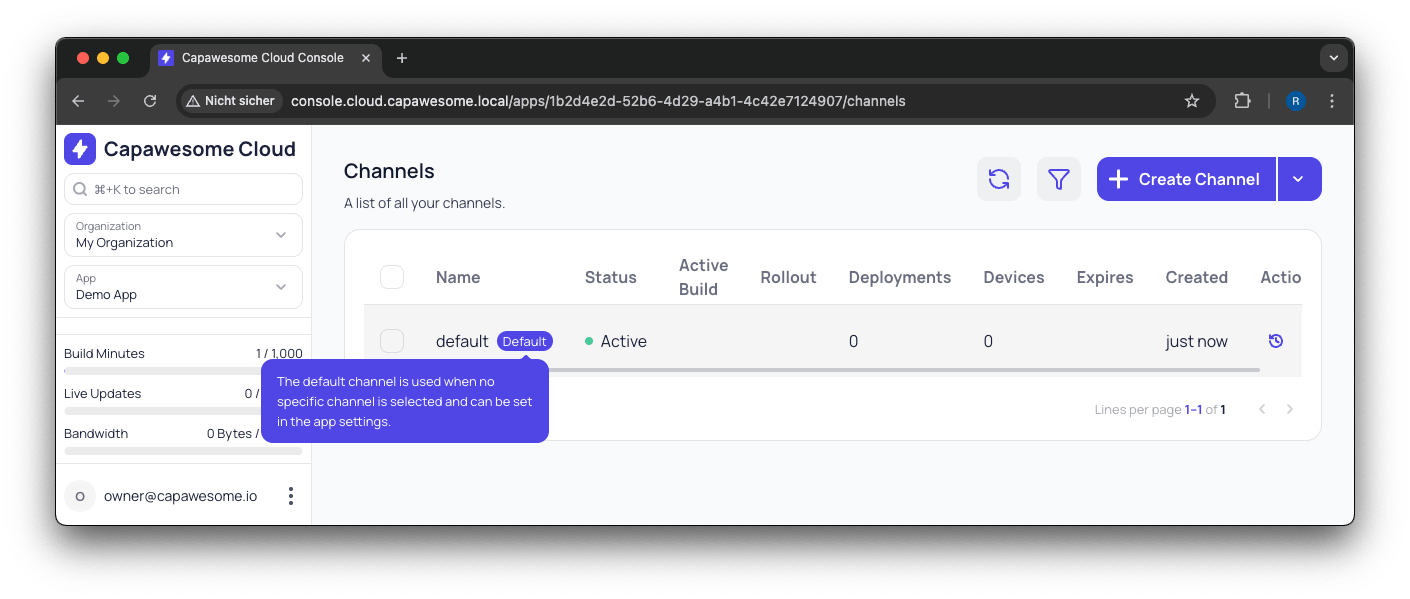
Default Channel
Each app has a default channel named default to simplify the initial setup. This channel is used when no specific channel is specified during the bundle upload process or when fetching updates in your app using the Live Update plugin. A default channel is not required for your app to function. You can rename, delete, or set another channel as the default channel at any time.
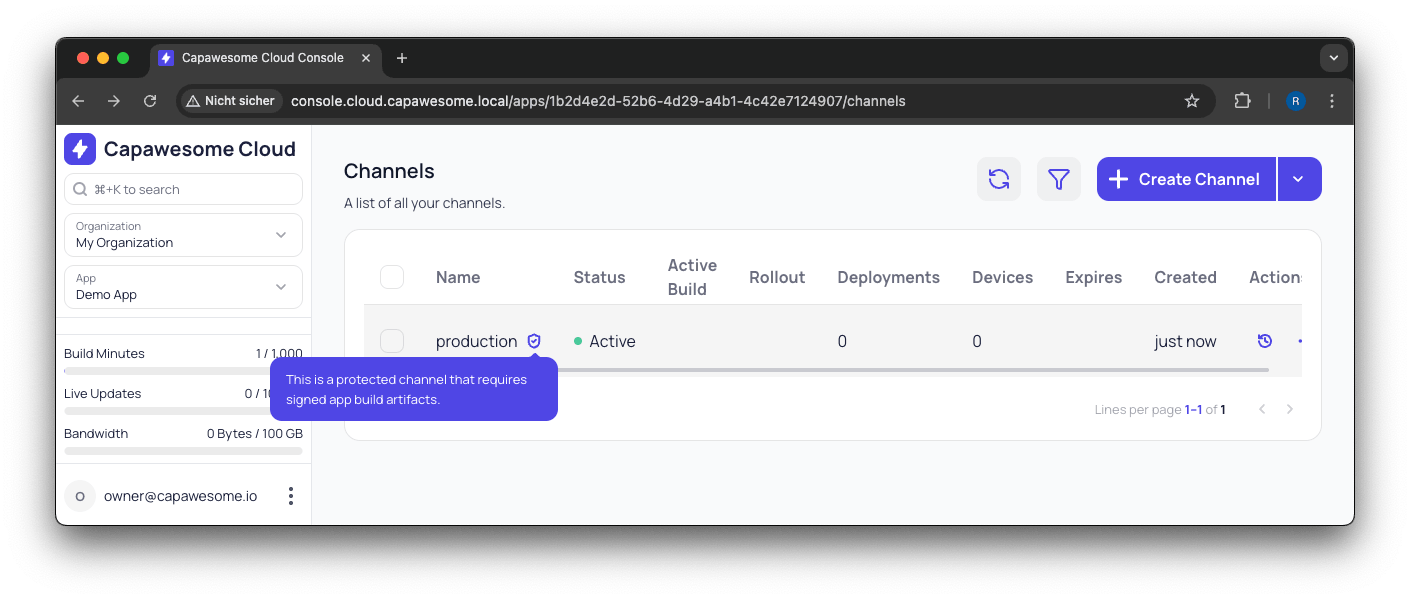
Protected Channels
Channels can be marked as "protected" to enhance the security of your live updates. When a channel is protected, all builds associated with that channel must be code-signed before they can be distributed to users. This ensures that only authorized builds are delivered through the protected channel. Read more about Code Signing in Capawesome Cloud.
Manage Channels
You can manage channels associated with your app using the Capawesome CLI or the Capawesome Cloud Console.
Create a channel
To create a channel using the Capawesome CLI, use the apps:channels:create command:
You will be prompted to select the app you want to create the channel for and to provide the name of the channel. The CLI will then create the channel in the Capawesome Cloud.
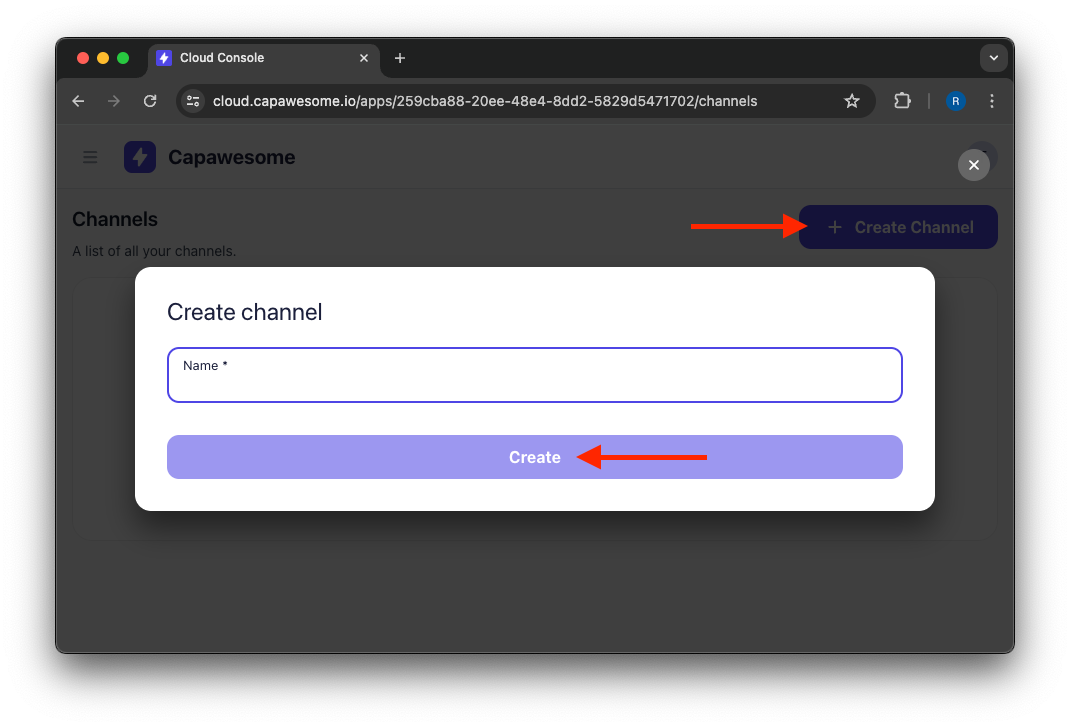
To create a channel using the Capawesome Cloud Console, navigate to the app you want to create the channel for, and click on the Channels menu item under the "Live Updates" section in the sidebar. Next, click on the "Create Channel" button and enter the name of the channel you want to create.
Update a channel
To update a channel using the Capawesome CLI, use the apps:channels:update command:
You will be prompted to select the app you want to update the channel for and to provide the ID of the channel. The CLI will then update the channel in the Capawesome Cloud based on the provided information.
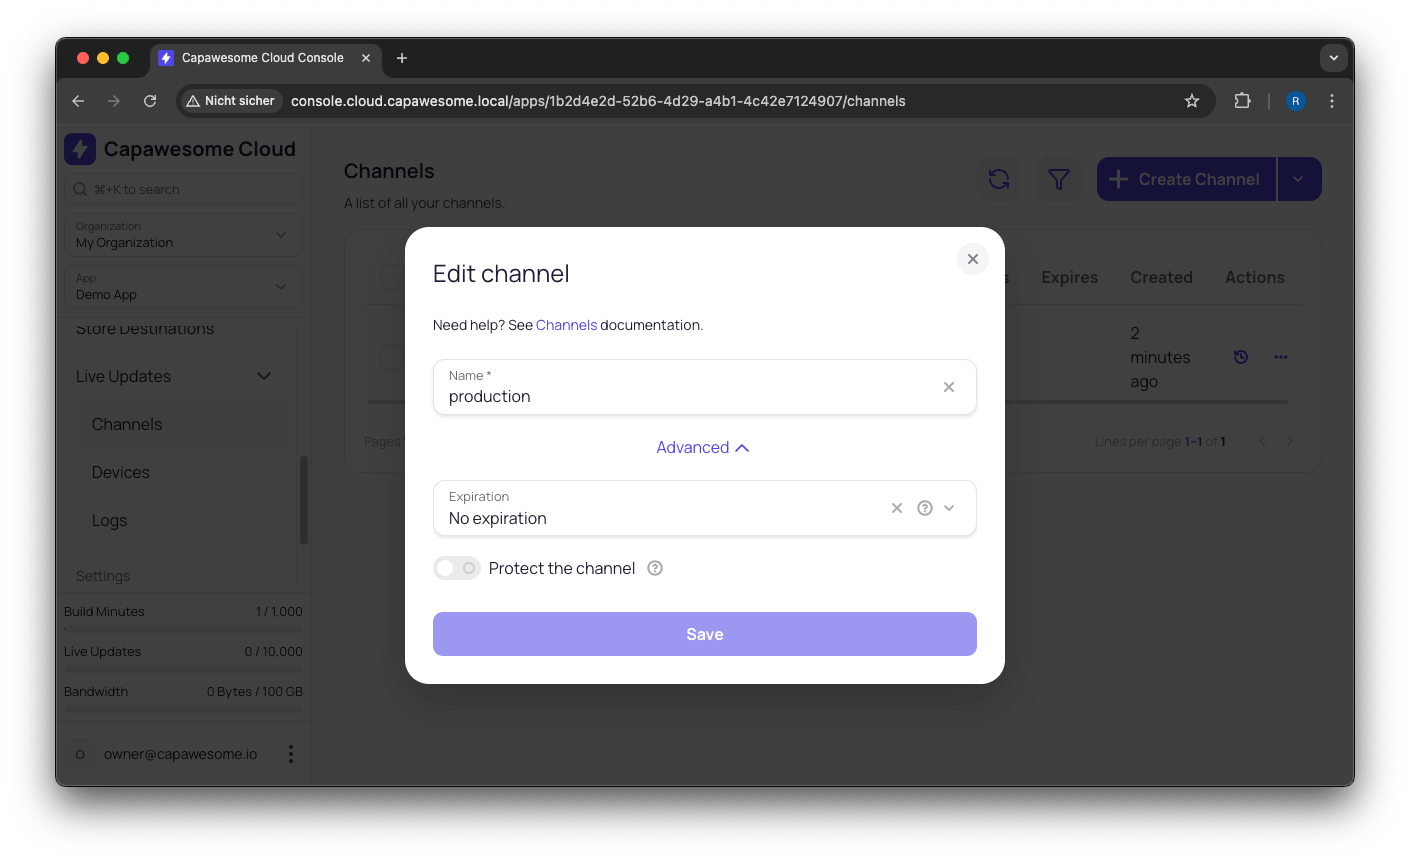
To update a channel using the Capawesome Cloud Console, navigate to the app you want to update the channel for, and click on the Channels menu item under the "Live Updates" section in the sidebar. Next, select the channel you want to update. In the menu, click on the "Edit" button to update the name and settings of the channel.
Delete a channel
To delete a channel using the Capawesome CLI, use the apps:channels:delete command:
You will be prompted to select the app you want to delete the channel for and to provide the name of the channel. The CLI will then delete the channel from the Capawesome Cloud.
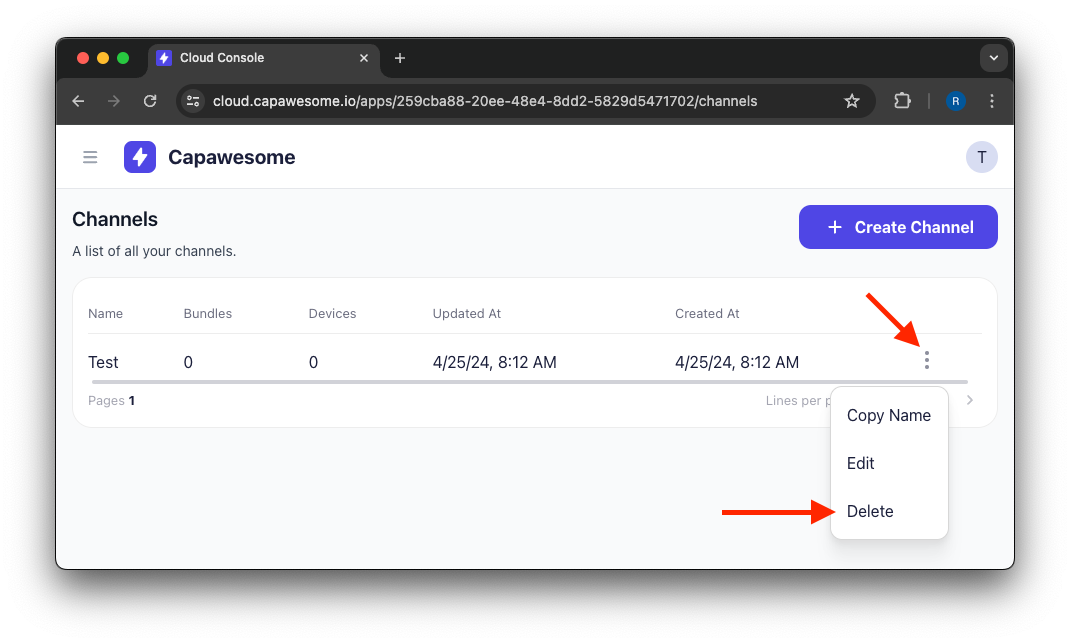
To delete a channel using the Capawesome Cloud Console, navigate to the app you want to delete the channel for, and click on the Channels menu item under the "Live Updates" section in the sidebar. Next, select the channel you want to delete. In the menu, click on the "Delete" button to delete the channel.
Set default channel
To set a channel as the default channel using the Capawesome Cloud Console, navigate to the app you want to set the default channel for, and click on the Settings menu item in the sidebar. Next, in the "Live Update Channels" section, enable the "Default Channel" toggle, select the channel you want to set as the default channel from the dropdown menu, and click on the "Save" button.
Channel Discovery
Channel discovery allows the Live Update plugin to fetch the list of available channels without requiring authentication. This is useful for apps that want to let developers or QA select a channel from a list of available channels (e.g. a beta channel).
To enable channel discovery using the Capawesome Cloud Console, navigate to the app you want to enable channel discovery for, and click on the Settings menu item in the sidebar. Next, in the "Live Update Channels" section, enable the "Channel Discovery" toggle and click on the "Save" button.
Once enabled, you can use the fetchChannels(...) method of the Live Update plugin to fetch the list of available channels.